Firing Art Clay Silver Jewelry
The Art Clay Silver material used in our jewelry-making workshops was developed and manufactured in Japan. It is essentially a clay-like material made from real pure silver ground into an extremely fine powder, mixed with an organic binder and water. In texture, it is most similar to clay.
In its wet state, this silver clay can be easily shaped into jewelry. Once dry, it can be fired. During firing, the organic binder holding the fine silver particles together burns away, the silver particles fuse together, and the result is 99.9% pure silver.
How should Art Clay Silver jewelry be prepared for firing?
For successful firing, it is important to follow a few basic rules, which you can also learn in our jewelry-making workshops.
Once removed from its packaging, Art Clay Silver is a soft, clay-like material that can be shaped by hand. Just like clay, it begins to dry and harden when exposed to air.
After shaping, silver clay may appear dry quite quickly, but there may still be moisture inside. Only completely dry pieces should be fired, so it is important that they are dry all the way through.
How long does it take to dry completely, and how can we check whether a piece of jewelry made from silver clay is truly dry?
If the finished pieces are left to dry at room temperature, complete drying may take half a day to a full day, depending on the size of the piece, the temperature, and the humidity of the air.
Drying can be accelerated by placing the jewelry pieces on a radiator, on an electric warming plate, such as a kitchen warming tray at around 50°C, or in an oven set to 50°C. They can also be dried with a hairdryer. With these methods, the pieces can become completely dry in as little as 30–60 minutes. Keep in mind that the larger and more complex the piece is, the longer the drying time may be.
For a flat piece of jewelry, complete drying can be checked in the following way:
– Place the warmed jewelry piece on a cold mirror surface, no warmer than room temperature.
– Leave it on the mirror for a few seconds.
– After removing the piece, check whether any condensation mark remains on the surface of the mirror.
– If you see a foggy mark, continue drying the piece.
– If it does not leave any condensation mark behind, the jewelry is most likely dry.
It is always better to be on the safe side, as pieces that are not fully dry may crack, blister, or split open during firing due to steam escaping from inside them. In extreme cases, they may even explode.
We’ll show you how to use Art Clay Silver!
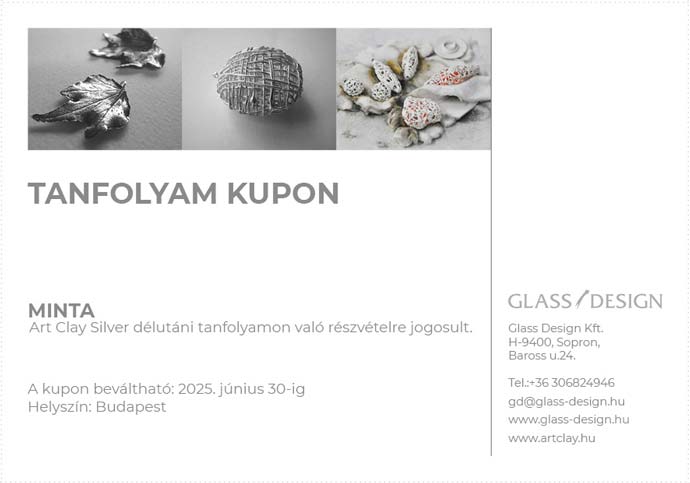
Sign up for one of our workshops, or surprise your loved ones with a gift voucher.
Firing Art Clay Silver in a Kiln — Step by Step
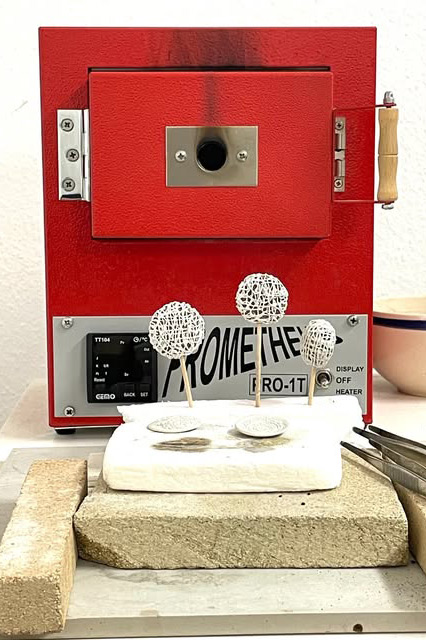
1. Prepare the firing accessories: a heat-resistant firing board, a loading spatula or fork, room-temperature water in a small bowl, and metal tweezers.
2. Turn on the kiln and heat it to the firing temperature, with temperature holding:
800°C
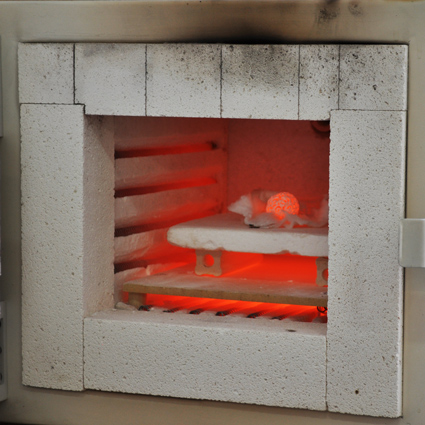
3. Place the jewelry pieces, arranged on the heat-resistant firing board, into the kiln.
4. Wait until the kiln heats back up to the firing temperature — 800°C — then fire the pieces for 5–10 minutes.
The larger the piece, the longer it is worth holding it at temperature. However, 10 minutes is sufficient for a piece weighing no more than 20 g. If a piece remains in the kiln at 800°C for longer, it will not be damaged.
5. After removing the fired jewelry pieces from the kiln, wait 10–15 seconds, then use tweezers to place them into room-temperature water so they can cool down. Don’t be alarmed if they sizzle from the heat.
Alternatively, you can leave them to cool on the loading board.
6. The silver jewelry pieces have now been fired and are almost ready. Only the final touches remain: the white oxide layer on the surface can be removed with a wire brush or sanding sponge.
After that, depending on the desired finish, the pieces can also be filed, sanded, and polished.
Firing Art Clay Silver with a Gas Torch
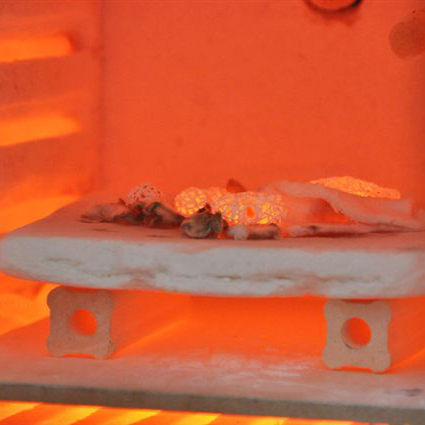
Art Clay Silver jewelry can also be fired with a gas torch by placing the pieces on a heat-resistant brick and firing mesh. Depending on the size of the piece, we recommend using either a small gas burner or a larger handheld torch, similar to those used by metalsmiths for soldering.
In this case, place the jewelry pieces on the firing mesh and heat them until they begin to glow an orange-red color. Keep them at this same heat level continuously for a few minutes. It is worth turning off the lights so you can see the process more clearly. Depending on the size of the jewelry piece, firing may take a few minutes. Be careful: if the piece is overheated, it may melt. A warning sign of this is when the surface suddenly becomes shiny.
Once firing is complete, leave the jewelry piece to cool, or wait 5–10 seconds, then use metal tweezers to place it into a bowl filled with room-temperature water.
Firing Mistakes
Even the best makers can experience mistakes during firing, so we have collected the most common issues:
– The jewelry exploded or cracked during firing
Most likely, the jewelry piece was not completely dry, and the moisture trapped inside caused it to crack or burst apart.
– The surface of the jewelry melted or blistered
The firing temperature was too high, causing the silver to melt or “flow” during firing.
If you would like to gain more experience in firing Art Clay Silver jewelry, join one of our workshops, where we will show you the full firing process.
Would you like to use our firing service?
Some of you have asked about this, so we now offer a firing service for jewelry pieces made from Art Clay Silver.